1. Download and Install Cloudflared
First, download cloudflared on your machine. Visit the downloads page to find the right package for your OS.
.deb install
Use the deb package manager to install cloudflared on compatible machines. amd64 / x86-64 is used in this example.
$ cd /tmp
$ wget https://github.com/cloudflare/cloudflared/releases/latest/download/cloudflared-linux-amd64.deb
$ dpkg -i ./cloudflared-linux-amd64.deb
.rpm install
Use the rpm package manager to install cloudflared on compatible machines. amd64 / x86-64 is used in this example.
$ cd /tmp
$ wget https://github.com/cloudflare/cloudflared/releases/latest/download/cloudflared-linux-x86_64.rpm
2. Authenticate Cloudflared
$ cloudflared tunnel loginRunning this command will:
- Open a browser window and prompt you to log into your Cloudflare account. After logging into your account, select your hostname.
- Generate an account certificate, the cert.pem file , in the default
cloudflareddirectory .
3. Create a Tunnel and Give it a Name
$ cloudflared tunnel create <NAME_HERE>Running this command will:
- Create a tunnel by establishing a persistent relationship between the name you provide and a UUID for your tunnel. At this point, no connection is active within the tunnel yet.
- Generate a tunnel credentials file in the default
cloudflareddirectory . - Create a subdomain of
.cfargotunnel.com.
From the output of the command, take note of the tunnel’s UUID and the path to your tunnel’s credentials file.
Confirm that the tunnel has been successfully created by running:
$ cloudflared tunnel list 4. Create a Configuration File
Create a configuration file in your .cloudflared directory using any text editor. This file will configure the tunnel to route traffic from a given origin to the hostname of your choice.
$ cd ~/.cloudflared/
$ nano config.yaml
Add the following to the file:
tunnel: <Tunnel-UUID>
credentials-file: /root/.cloudflared/<Tunnel-UUID>.json
ingress:
  - hostname: <DNS-NAME>
    service: http://localhost:80
- service: http_status:404- Set the port on the
service:line to be whatever port your website is running on - Set the
Tunnel-UUIDto be theUUIDof the tunnel you created in step 3 - Set the credentials path where the saved credentials from step 2 is found. It could be in your users directory (
/home/<username>/.cloudflared) instead of/root/.cloudflared - Set the
DNS-NAMEto be the website name you’ll be using. For example,subdomain.example.com - Any more ports you would like to use need another
hostname:andservice:line beforeservice: http_status:404. This last line is the ‘catch all’ in case a web query doesn’t resolve.
5. Route Traffic Using DNS Name
Now assign a CNAME record that points traffic to your tunnel subdomain.
$ cloudflared tunnel route dns <TUNNEL_UUID_or_NAME> <DNS_NAME>6. Run the Tunnel
If you want to run the tunnel with a configuration file that is not in the default directory , you can use the --config flag and specify a path.
$ cloudflared tunnel --config ~/.cloudflared/config.yaml run7. Run as a Service
Once you’ve verified that the tunnel works, create a service (also called a daemon)
$ sudo cloudflared --config ~/.cloudflared/config.yaml service install
$ sudo systemctl enable --now cloudflared
8. Set up CloudFlare HTTPS
- Navigate to dash.cloudflare.com and select your website
- Go to the SSL > Overview, and change the SSL/TLS encryption mode to either
FullorFull (strict)

- I’d also recommend turning on
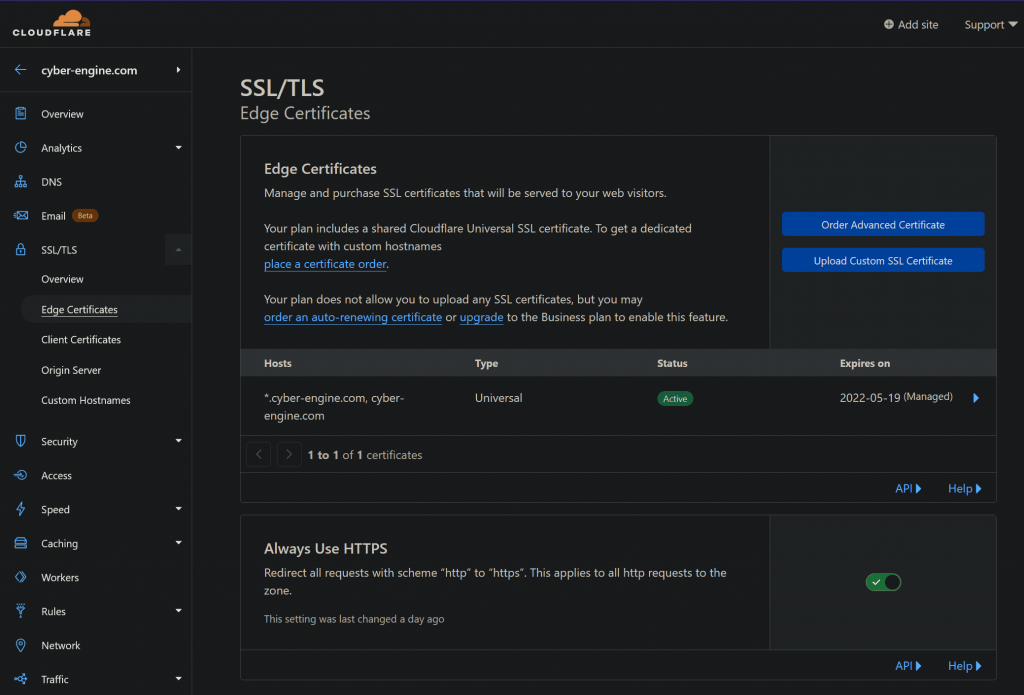
SSL/TLS Recommenderto see what else you probably should do for encryption in the future. - Navigate to SSL > Edge Certificates
- Turn on
Always Use HTTPS